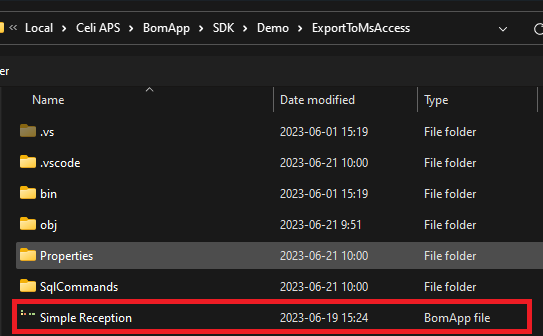
SDK folder |
The SDK folder contains a Demo add-in and files needed to start developing your own add-in:
BomApi.xml – contains the comments of all API objects and methods so that they would be shown in the IntelliSense of the IDE.
BomApi.dll – the .dll which your project should reference to be able to access the BOM API.
The demo add-in is configured for Visual Studio Code and Visual Studio IDE’s. You should also be able to run it with an IDE of your choice.
The demo add-in requires you to have Microsoft Office 64-bit installed. |
To run the demo AddIn you need to have .NET SDK installed. Currently both BOMapp and the demo AddIn use .NET Framework. You can install .NET SDK from the official Microsoft website.
Double click the ExportToMsAccess.csproj and Visual Studio should open the project.
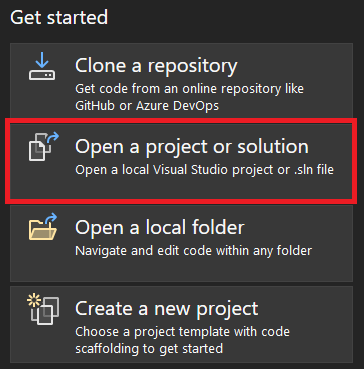
Alternatively, you can first open Visual Studio. Then click Open a project or solution and navigate to the project directory and select the ExportToMsAccess.csproj.
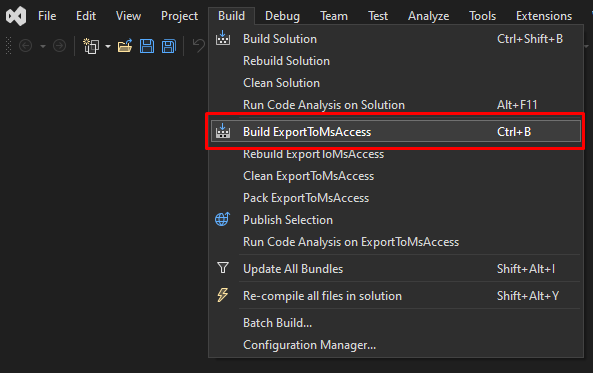
Once the project is opened, you can initiate the build process by either pressing Ctrl + B or clicking on the Build ExportToMsAccess” button.
Upon completion of the project build, the subsequent steps should be taken to initiate debugging:
Launch BomApp.
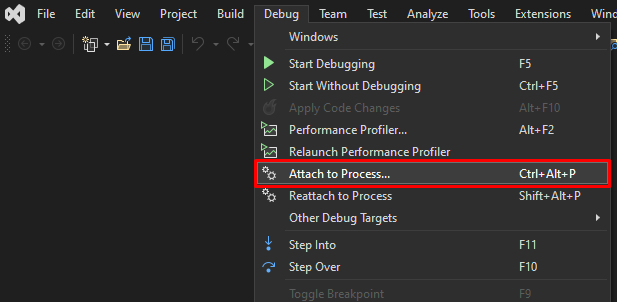
Press Ctrl+Alt+P or navigate to Debug menu and select Attach to Process.
Within the Attach to Process window, select BomApp-win.exe and then proceed by clicking the Attach button.
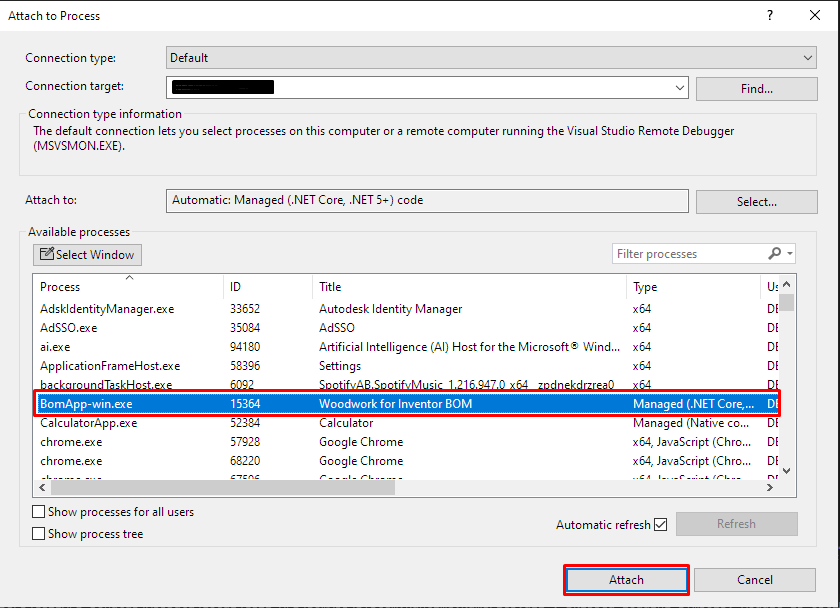
Following the completion of these steps, the ExportToMsAccess demo becomes attached to BomApp, and it is now prepared for the debugging process.
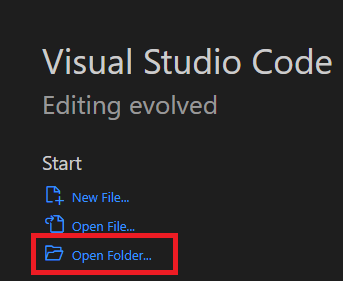
First, open the Visual Studio Code then click Open Folder… button and navigate to the project directory.
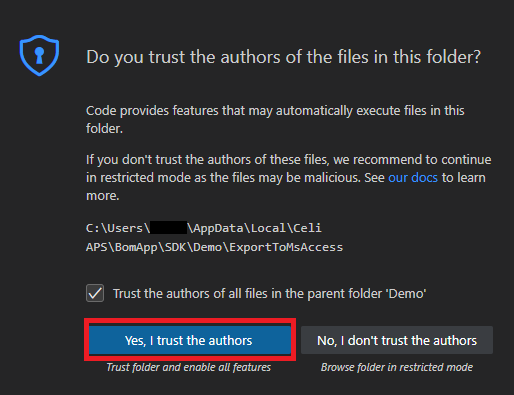
After opening the folder for the first time you might see this window. It is recommended to click Yes, I trust the authors to enable all features of the Visual Studio Code.
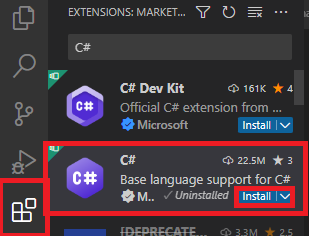
If you do not have C# extension installed in Visual Studio Code you need to head to the Extensions tab and install it.
Then you can build and debug the project.
We have established two predefined methods for building and debugging the ExportToMsAccess demo within Visual Studio Code. Upon accessing the Run and Debug section, you will observe the presence of these two distinct options.
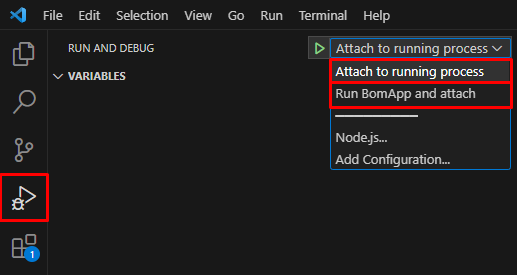
Option 1. Attach to running process.
This option involves building the project and launching BomApp. Following this, a dropdown menu will appear, prompting you to select BomApp.exe for attachment. Once successfully attached to BomApp, you are then prepared to initiate the debugging process.

Option 2. Run BomApp and attach.
This option involves building the project and opening BomApp. It then automatically establishes an attachment to BomApp. Once attached to BomApp, you’re ready to proceed with debugging. Once your debugging is complete, BomApp is automatically closed.
For utilizing this option, it’s important to ensure that no instance of BomApp is currently open. |
After the BOMapp is running, to run the add-in you need to make sure a BOM file is loaded. To load the file you need to open the Open BOM dialog.

Then you need to select a .wbom file. You can either select your own file or use the example file provided in the ExportToMsAccess demo add-in directory.
