In many cases, the generated BOM must not only transmit the structural/compositional sets, which convey the essential product composition information, but in addition it must also transmit the rest of the meta-data that is relevant to the specific product, e.g. what is the order number, what are the contacts of the customer or designer, production order information, etc. This type of information is called BOM header information in the BOMapp environment and can be entered as follows.
Automatically, when the data comes from the 3D model, using a static value. For example, the settings specify that the designer’s name and contact details are filled in automatically or entered for each manually generated BOM (e.g. client contact details).
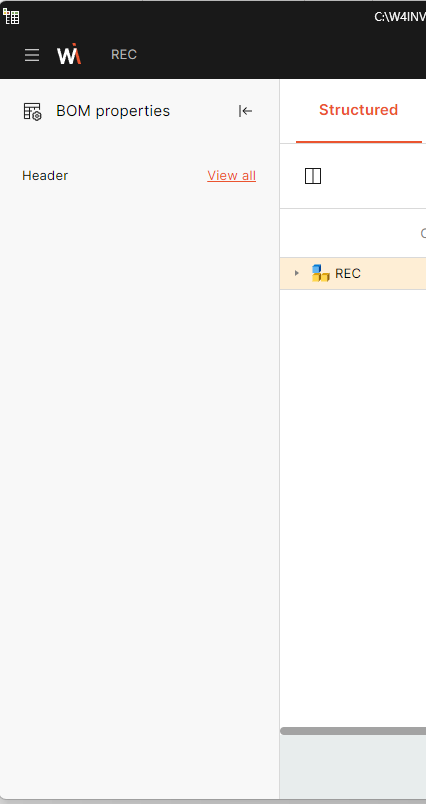
The BOM header completion dialogue is called from the main menu by clicking on the BOM properties button.

BOM properties button
This opens a side menu, which is initially empty. The most commonly used fields can be added here later, which are needed for input before the BOM is exported to the final file.

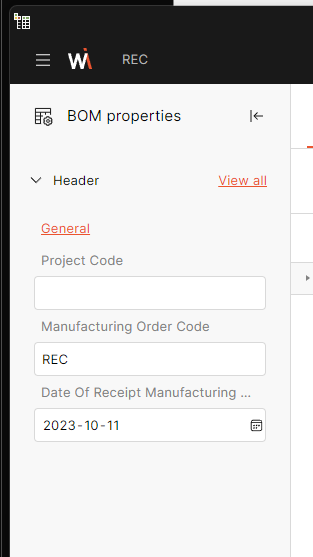
Header favorites menu
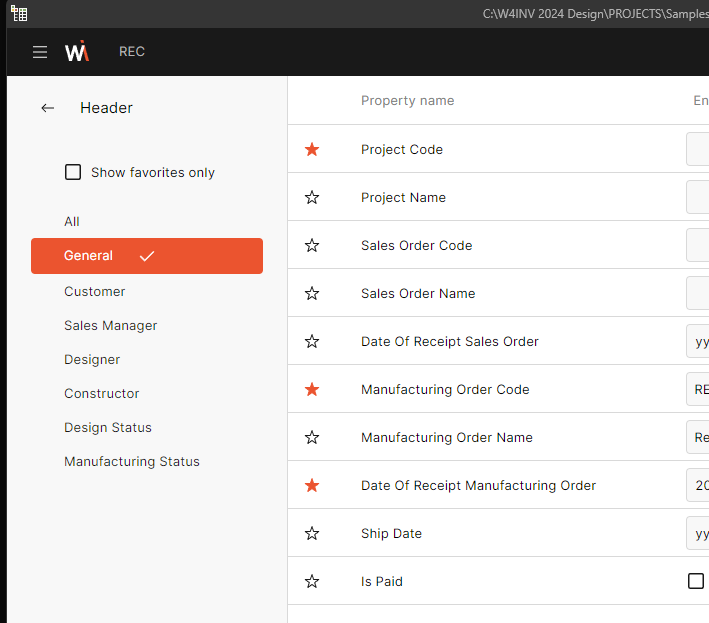
Clicking on the "View All" button takes you to the Headers environment.

BOM headers main environment
This group shows 7 value categories: ▪General ▪Customer ▪Sales Manager ▪Designer ▪Constructor ▪Design Status ▪Manufacturing Status
Each of these groups has its own list of predefined properties. These lists can be supplemented with the properties you want. |
If a user wants to quickly access/filter their most used properties, they can mark them as Favorites. In this case, the icon will turn pink
 Items marked as Favorites
 Quick access to BOM favorites
|
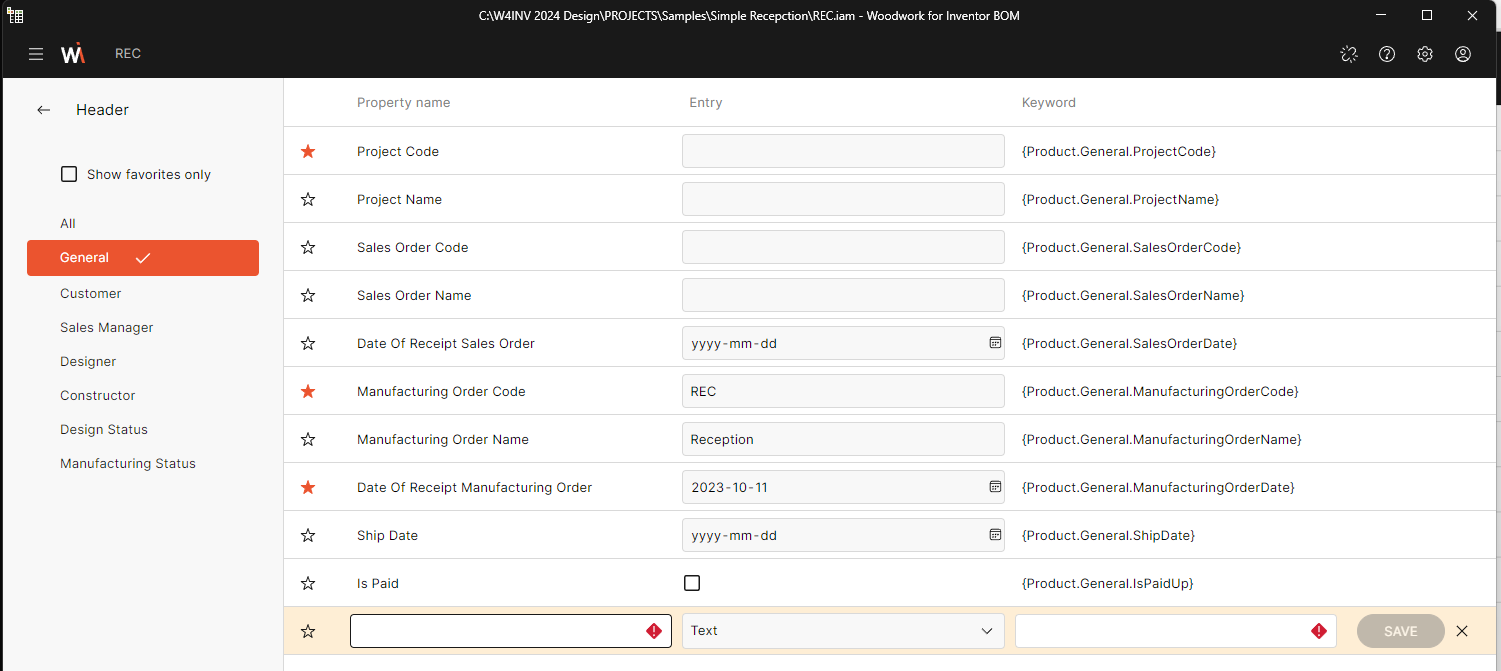
A column containing the name of the property. These names are only used in the BOMapp environment, so the user can name their properties according to their preference or language when creating them.
|
The Entry field contains the variable that is relevant to the user. E.g. production code number, designer’s contact details, etc. These fields can be of three different types: ▪Text ▪True/False ▪Date
For more details on variable types, see the Add Property paragraph |
This column contains the keywords that can be used to output Entry field values in the BOM. |
This check-box allows you to filter and display only those entries that are marked as favorite/most . |
This command allows you to insert your own additional property into the selected category. Clicking the button adds an extra row to the table.
 Add new Property
▪In the Property Name field, it is necessary to specify a unique property name. ▪In the Entry field, you need to specify the type of the variable: text, True/False or Date. Depending on which variable is chosen, this type of data will be available for users to enter into the variable cell later. ▪The Keyword value contains only the last part of the variable. For example: if you want to have a final keyword: {Product.General.CustomProperty.MyKeyword}, all you have to do is enter MyKeyword in the keyword field. The rest of the keyword will be generated automatically.
|
Locking property values and keywords
In situations where a property does not change during BOM generation (e.g. designer’s contacts), it is useful to have such properties automatically added to the BOM. The BOM generator allows you to mark a specific cell with a padlock symbol at each property entry cell. This means that this value will remain static and will be fixed when generating different BOMs.
Keyword locking works in a similar way – as the name changes, keywords can always remain fixed, as long as they are marked with a padlock symbol.

Editing and removing properties
If a user wants to edit or delete a property they have previously entered, they can do so by clicking on the three dots at the end of the entry and selecting the desired item – Edit or Delete.

Edit or delete entry