The layout and output of each BOM table is individual and depends on the needs of the user. Responding to those needs, we have designed the BOMapp mechanism so that users can arrange the columns of the tables in the order they want.
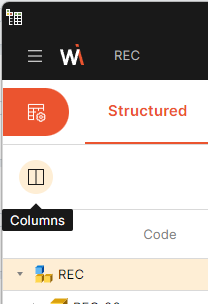
Clicking on the Columns icon in the main BOMapp window will bring up the Columns Management dialogue.

Columns dialog button

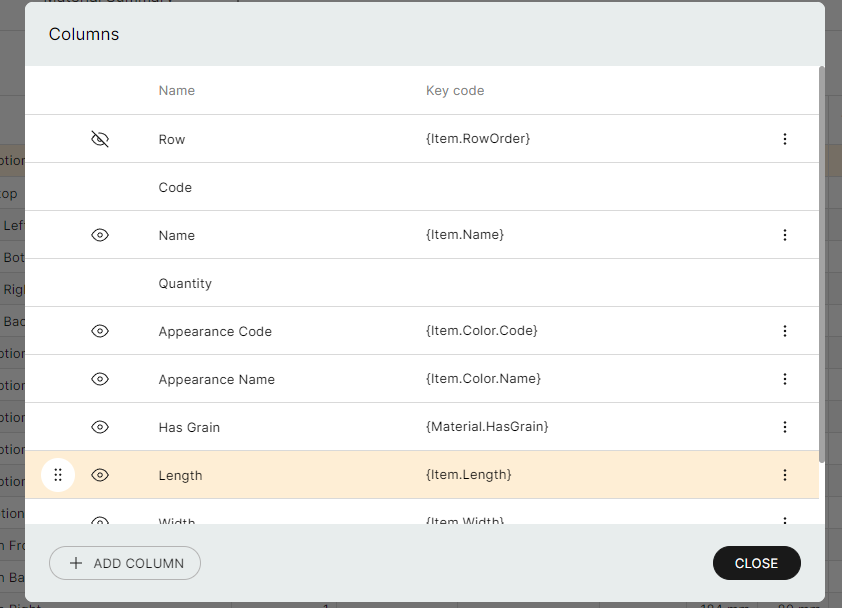
Columns dialog
The Columns dialogue is based on the fact that it sequentially arranges the columns that will be visible in the main BOMapp window. This means that the order in which the user puts the columns they want to see is the order in which they will be displayed. Last but not least, the user can remove practically all columns from the list – even those that come with the installation. However, there are two columns that cannot be removed or edited – the Code column and the Quantity column.
Important!
▪Changing the order of the entries in this dialogue is as simple as dragging the selected row up or down using the Drag and Drop function.
▪The column can be temporarily disabled, if necessary, by simply clicking on the eye icon.
▪The Name column specifies what the column will be called in the main BOMapp window.
▪The Key code column specifies the property that BOMapp will read and display from the generated data using the keyword.
A more detailed explanation of some of the more important fields:
▪Code – corresponds to the Part Name field in iProperties.
▪Name – corresponds to the Description field in iProperties.
▪Path – file path.
▪BOM structure – describes the type of component.
▪Quantity – the value of this field depends on the context of the row in which the data is displayed. If it is:
✓Assembly – shows the quantity in units.
✓Part – shows the quantity in units.
✓Workpiece – shows the quantity in units.
✓Material – depending on the type of material, the quantity in which the material is calculated can be displayed – length, width, volume.
Depending on what is represented in the row (part, workpiece, material), the data describing these items is displayed:
▪Length
▪Width
▪Thickness
Additional information about the material may be displayed:
▪Appearance Code – colour code.
▪Appearance Name – colour name.
▪Covering Side – the side of the covering.
Adding a new column
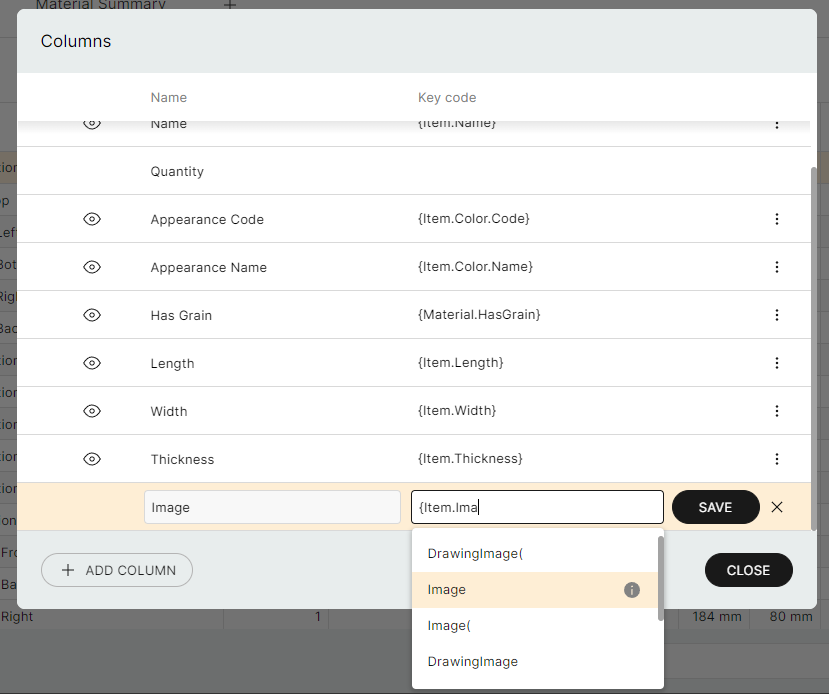
To add an additional column, the user needs to click on the "+Add Column" button in this dialogue. An additional line will then be added to the dialogue, where the column name and keyword must be specified. Here, the keyword is entered using the keyword auto-complete function, if necessary, which completes the phrase, e.g.:

Add new column entry
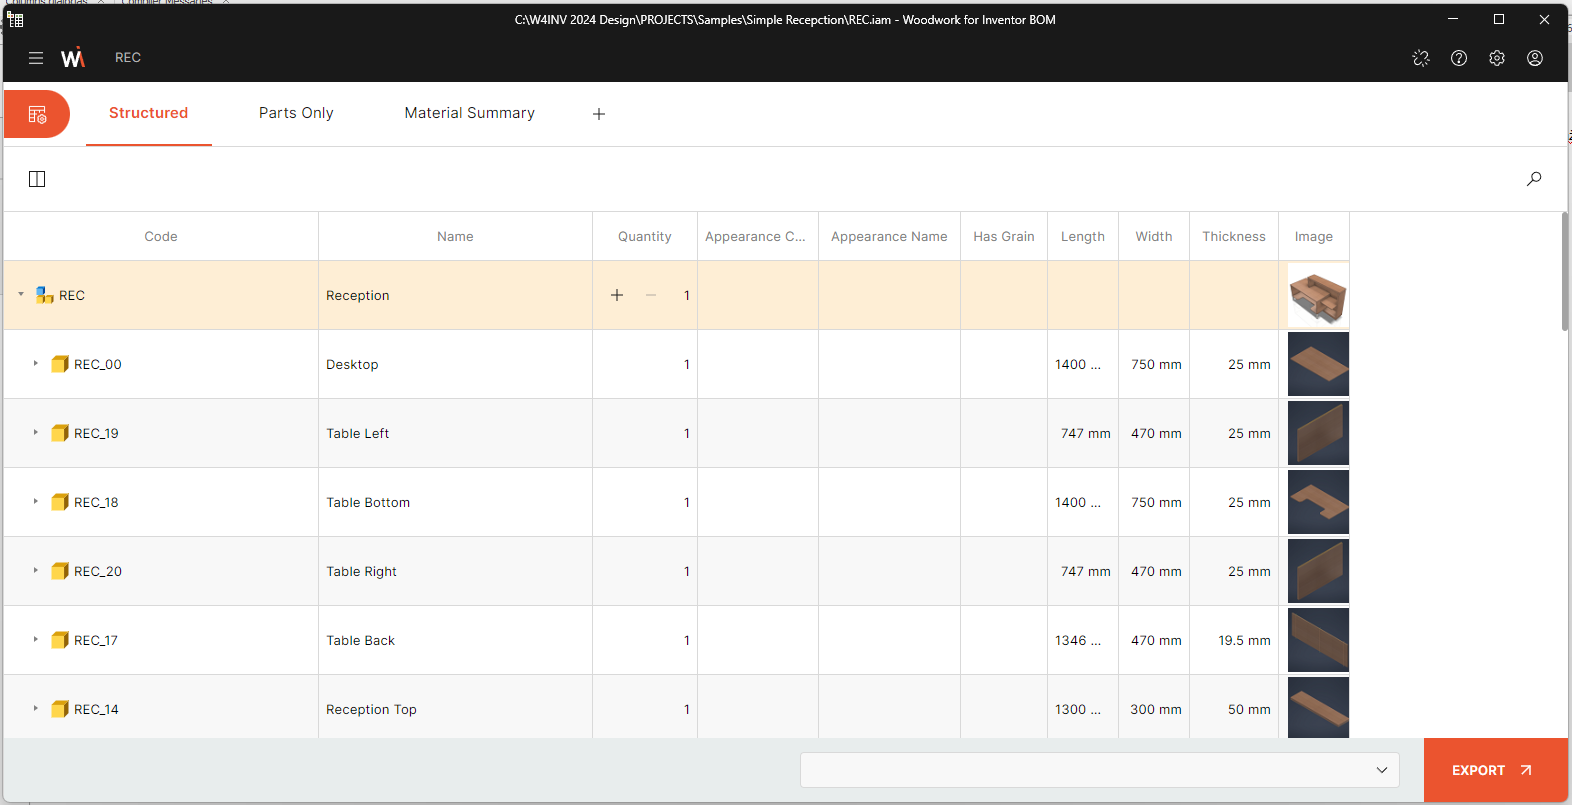
After closing this dialogue, the changes are immediately displayed in the main BOMapp window. No further BOM generation is required.

Main BOMapp window with the added column